HDB interiors have become more popular for their arch designs due to their visual appeal and stylish appearance.
It is because of their beauty and elegance and the seamless transition between spaces, optimized use of limited space, and a sense of openness achieved with them. Having a versatile design enhances the aesthetic value of HDB homes, making them a popular choice for modern interiors.
If you always wanted an arch in your New home but got spooked when quoted by IDs and/or contractors?
Netizen Jo shares DIY Tips for arches in her new resale HDB!

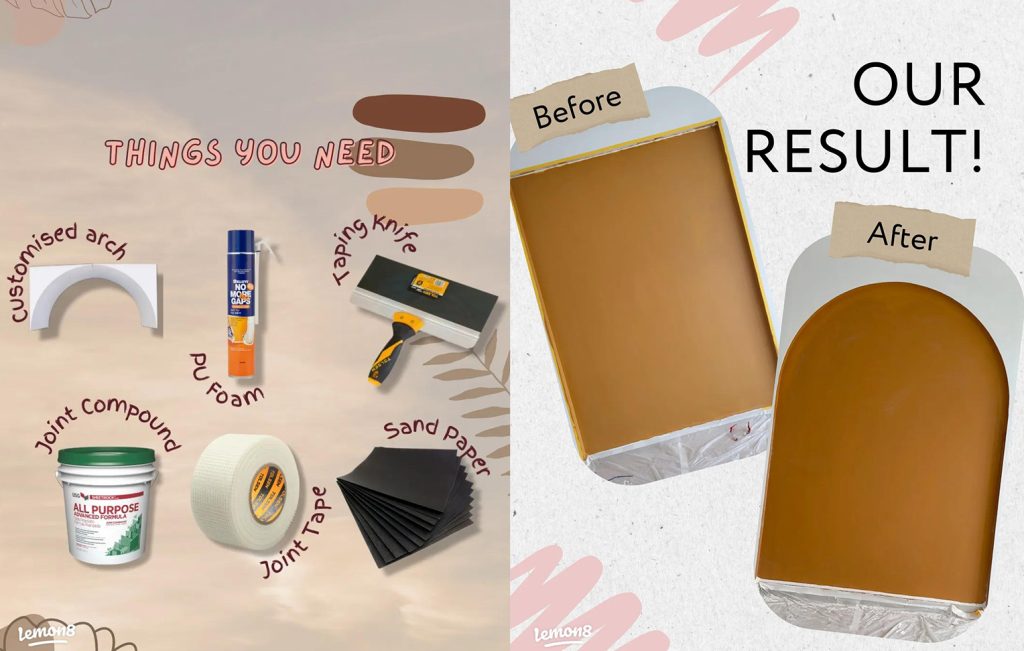
According to Netizen Jo, the Required Materials for DIY Arch Project:
1) Custom Arch
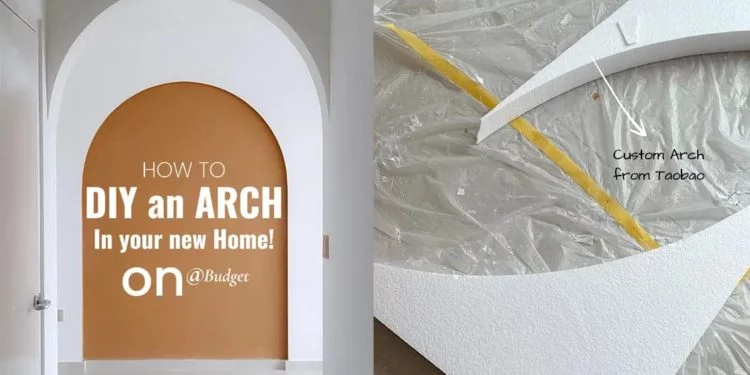
Taobao proved to be the best choice after some research. If you want the perfect half-rounded arch, just measure your nook’s width and divide it by two. The seller needs to know the depth as well. It is important to make it a centimeter or two smaller if you’re doing it for a nook (with a wall behind it), otherwise, it will stick out from the wall
We made one for the hallway wall and another for the walkway leading to the bedrooms. Shipping was not included in either price.
Product Item: Customised Arch

2) PU foam
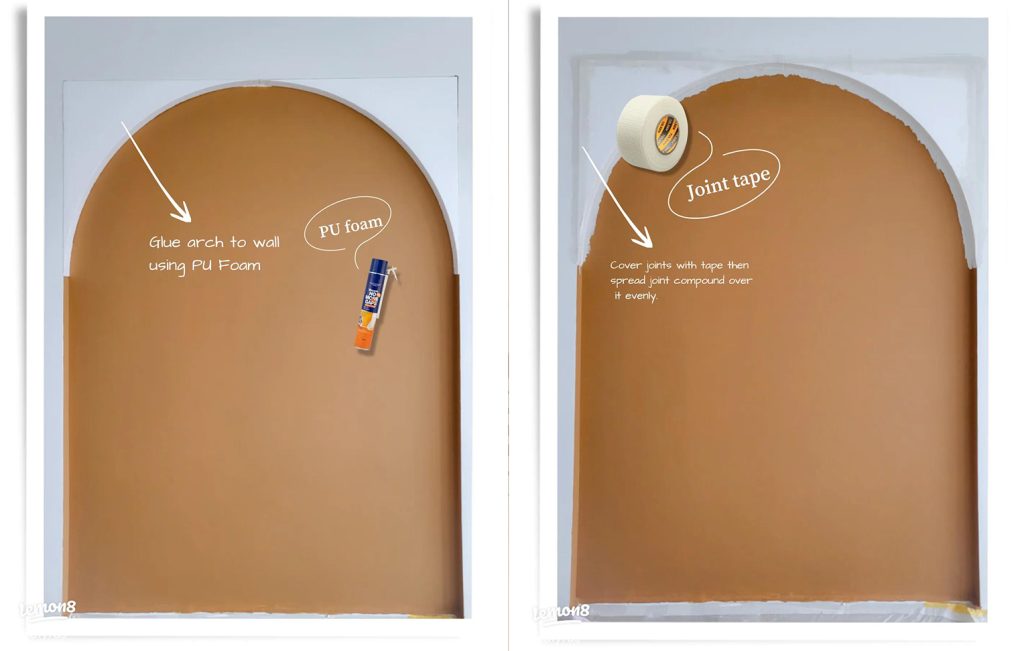
A little goes a long way… once the foam is applied, adjust the wall accordingly. Keeping them in place is easy with painter’s tape.
Product Item: PU Foam
3) Joint Tape
When using joint compounds, it is important to hide the joints from being visible. Apply a very thin layer of joint compound over the joints and then cover them with tape.
Product Item: Joint Tape
4) Joint Compound
5) Taping Knife

6) Sand Paper
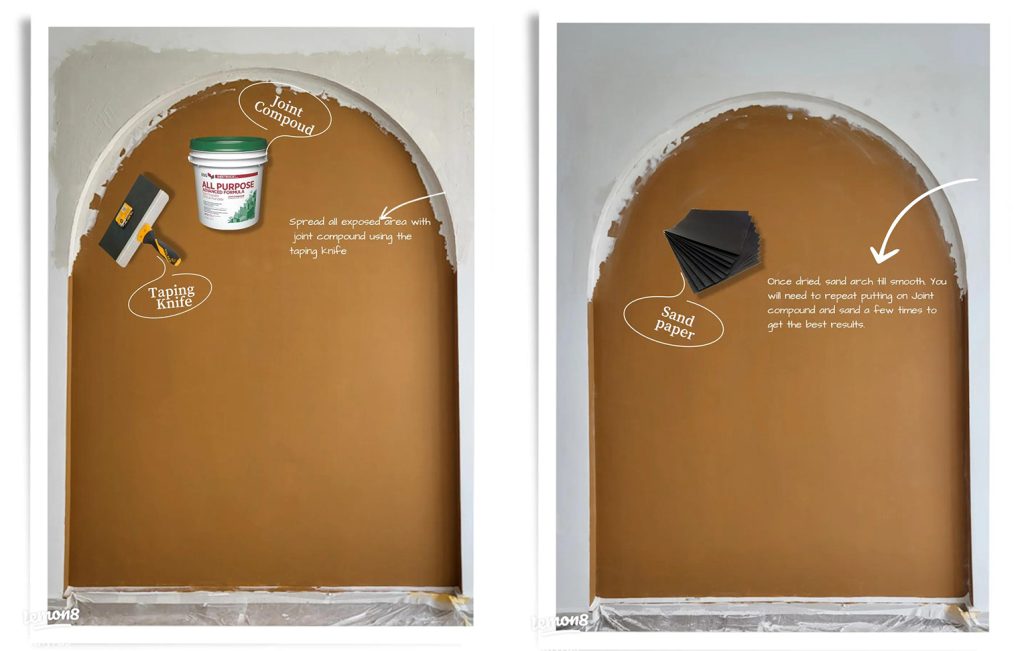
This joint compound acts as a cement to cover your arch and the joints along the wall. Tape the arch evenly using the taping knife.
Once it has dried (it takes a few hours), lightly sand it with sandpaper to smooth it out. If you want a smooth finish, it’s best to apply the joint compound thinly and let it dry before sanding. Over the course of a few days, we did it at least four times. It can then be painted over once you are satisfied with it.
Product Item: Joint Compound, Taping Knife
Netizen Jo found the DIY process surprisingly easy and enjoyed the satisfying results. She encourages you to try making it for your own home, as it can be a rewarding experience.
Looking for more home Tips and ideas, Join @sghomereno on Telegram now!
(Credits: DIYrUs)


